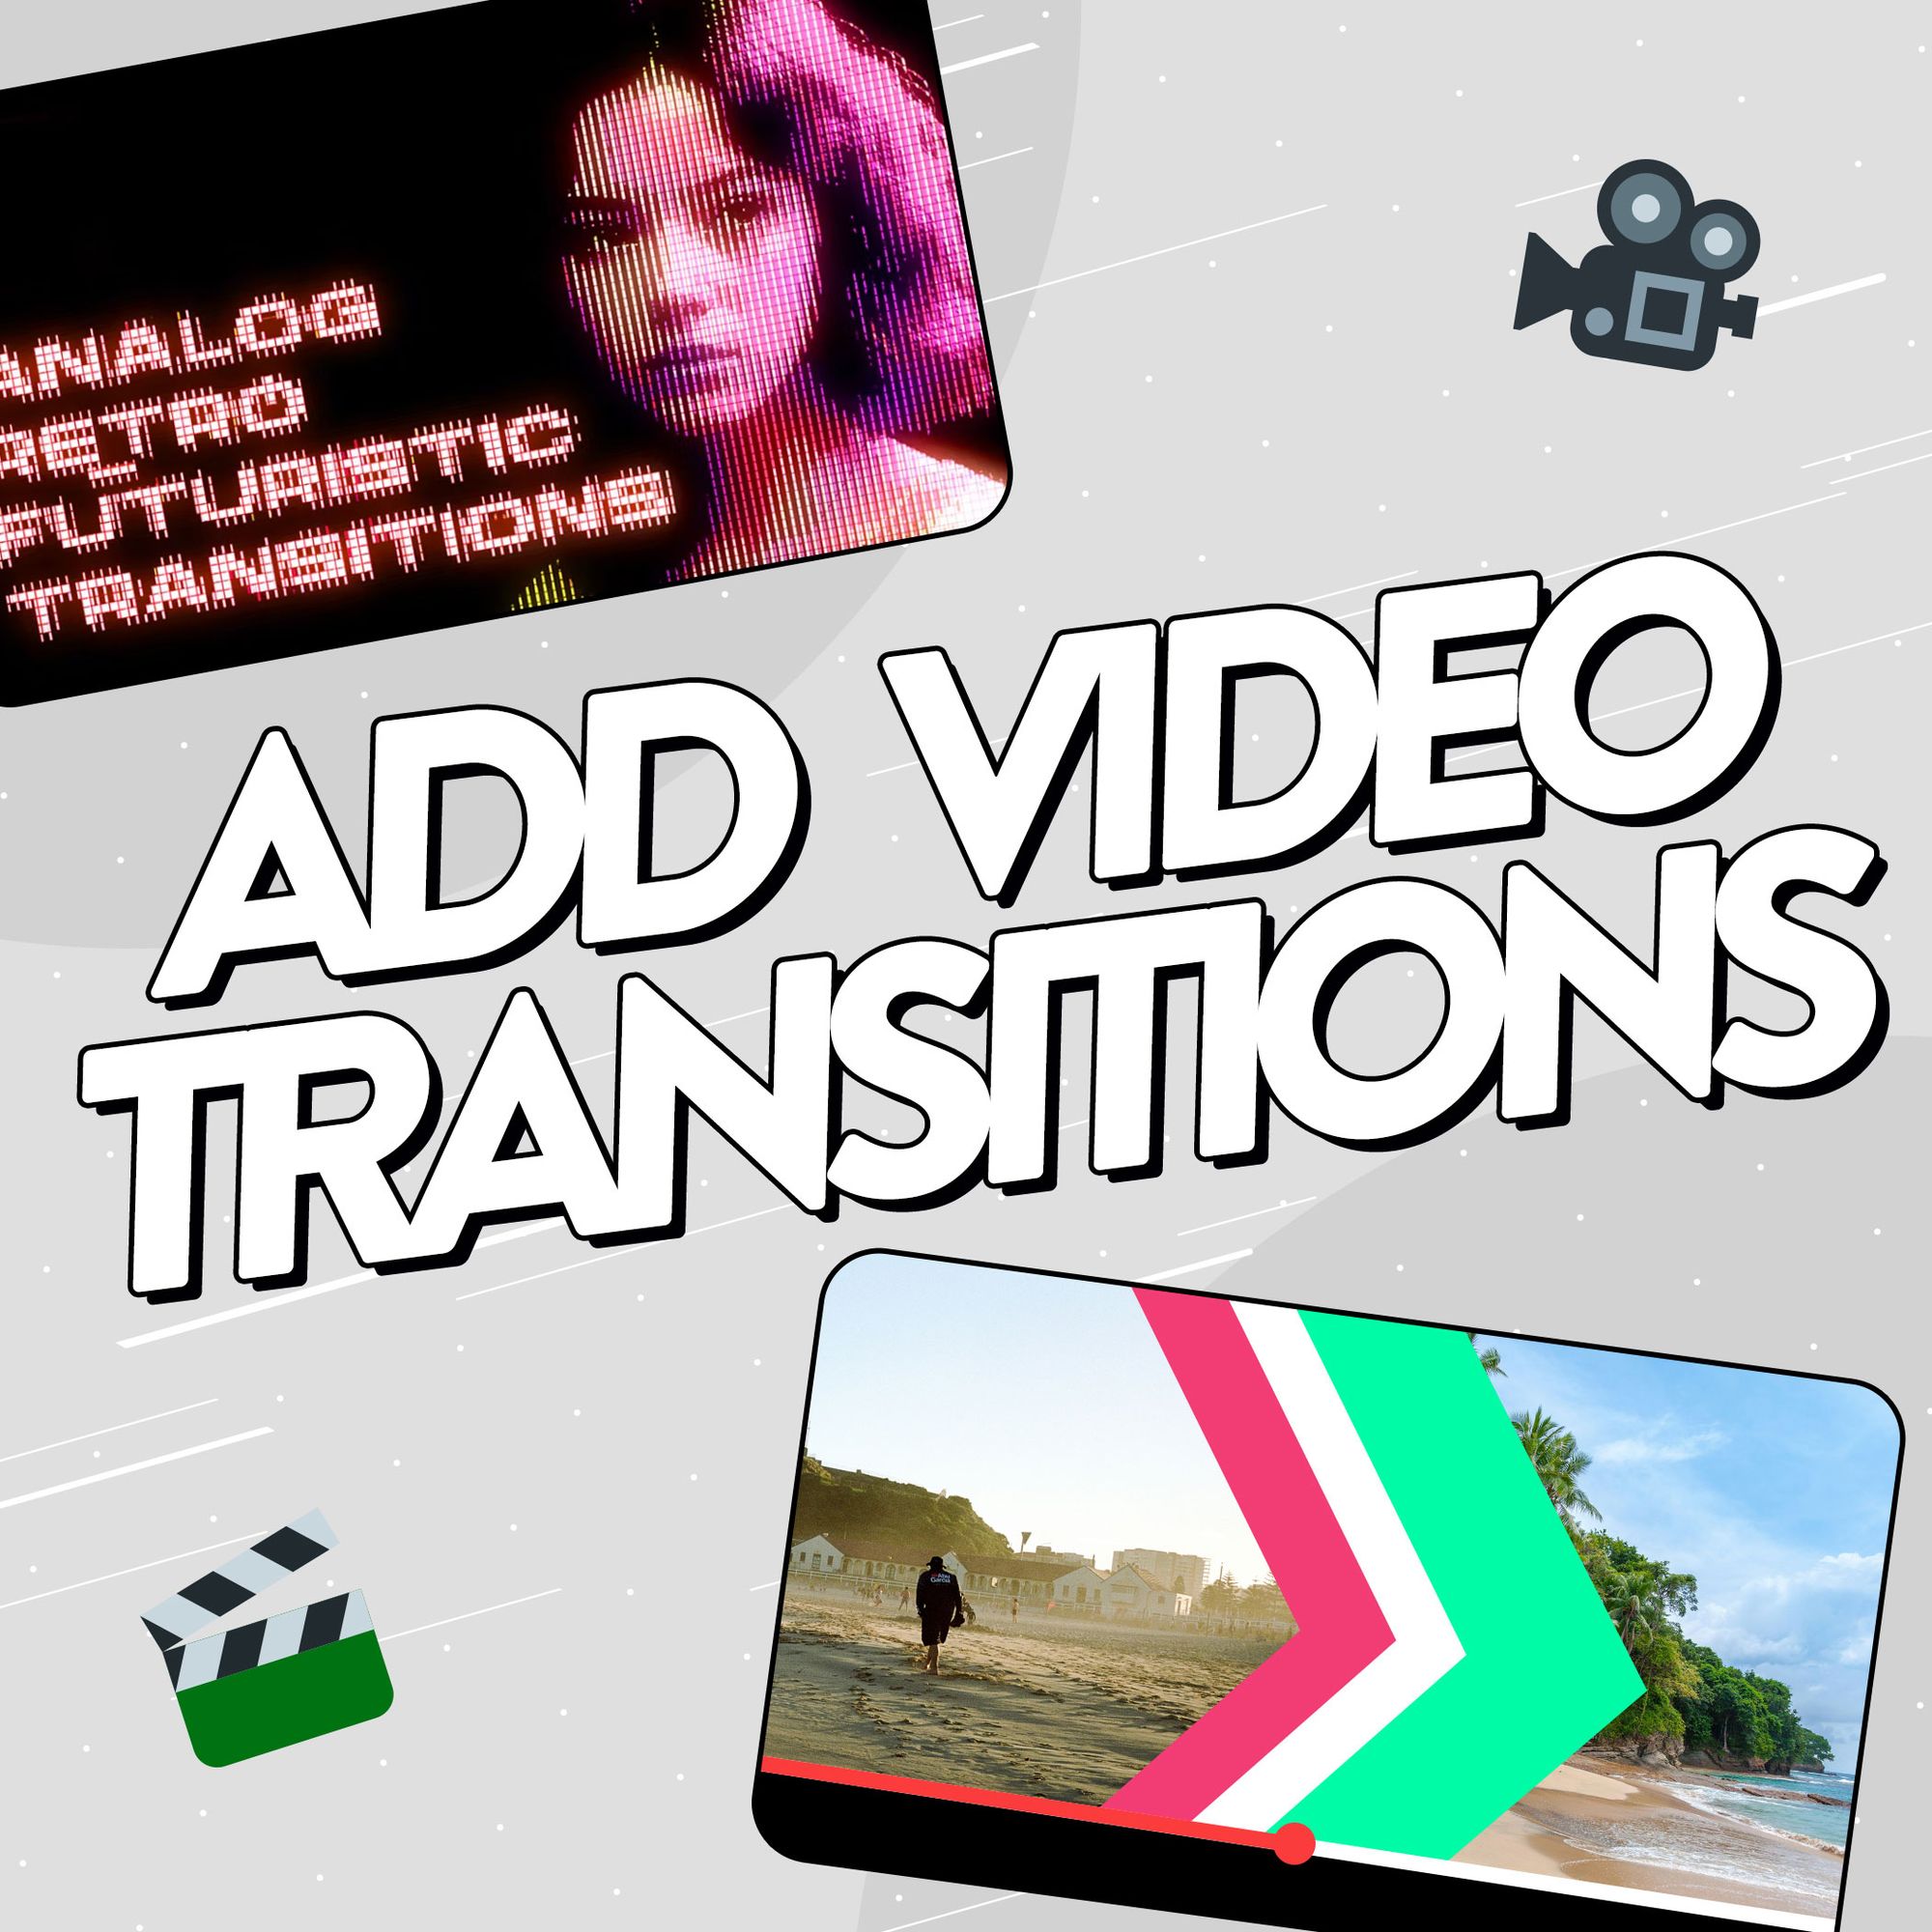
Imagine your latest video is almost complete – but it still doesn’t feel finished. Every cut seems a bit too sharp or simply doesn’t flow. It’s a common hurdle many creators experience when editing their videos. But it’s also one that can easily be overcome by adding video transitions to make your content feel smoother and more polished.
Video transition effects are a surprisingly simple addition that move your edits from one piece of footage to the next. They’re effective at keeping viewers engaged in long YouTube videos and for creating quick, snappy TikTok clips. And while they might make your footage feel more professional, you don’t need to be a pro to add them to your edits.
In this guide, you’ll learn how to add video transitions no matter what editing software you have – simply jump to the one you use in the menu below. And once you master dropping transitions into your edits, take a look at our vital tips for getting the most out of transition effects and creating your own signature style.
- Why should you be using video transitions?
- Where to find video transition effects for your content
- How to add transitions in Premiere Pro
- How to add transitions in iMovie
- How to add transitions in CapCut
- How to add transitions in Davinci Resolve
- Make the most of video transition effects

What are video transitions and why should you use them?
Transitions are the effects that help your audience move smoothly from one clip to the next. They’re a simple addition that can have a big impact – like a slick wipe effect that transports viewers between scenes, or a subtle glitch that changes the vibe of your footage.
Used well, video transitions guide the viewer’s eye through your content, support your pacing, and can even add emotion or energy to a scene. They’re one of the easiest ways to make your edit feel more professional, whether you’re editing a long-form YouTube video or a quick Reel.
Want to see which transition styles work best for different types of content? Check out our guide on how to make the most of video transition effects in your edits, including a list of transitions creators use most often.
Where to find video transition effects to add to your edits
If all you want are basic transitions, most editing software has simple effects you can drop into your footage. But you’re not going to find show-stopping transitions that’ll take your edits to totally new levels. Or more original effects that’ll fit your vibe that bit better.
High-quality, creator-friendly platforms like Uppbeat have an extensive library of transition animations that can help you achieve a clean, polished edit in a matter of minutes. You’ll find transition presets and packs for the likes of Premiere Pro and DaVinci Resolve which you simply download and drop into your edit.
Explore video transition effects
Elevate your edits with Uppbeat's downloadable transition animations 🤟

How to add transitions in Premiere Pro
Premiere Pro is packed with transition options that you can drag and drop straight onto your clips. Here’s how to add a transition:
- Head to the Effects panel.
- Open the Video Transitions folder.
- Drag your chosen transition onto the edit point between two clips.
- Adjust the duration by dragging the edges of the transition in your timeline.
You can also get creative with third-party packs – just import them and use them the same way. Look out for speed ramps, zoom-ins, and custom wipes to add a little flair.
How to add transitions in iMovie
If you’re just starting out, iMovie is one of the easiest tools to learn and it has built-in transitions ready to go. To add a transition in iMovie (macOS or iOS):
- Open your project and find the Transitions tab in the toolbar.
- Drag your chosen transition between two clips on the timeline.
- To change the duration, click the transition icon and adjust the time in the inspector.
By default, iMovie automatically adds transitions when you insert clips, but you can turn this off in preferences if you want full control. These default transitions are simple (like fade, slide, and wipe), but they do the job for casual edits.
How to add transitions in CapCut
CapCut is super popular with mobile-first creators thanks to its quick, flashy transitions. That makes it perfect for TikToks, Reels, and Shorts. Here’s how to use them:
- Tap or click on the gap between two clips.
- Select Transition from the toolbar.
- Choose from categories like Basic, Camera, MG (Motion Graphics), or Effect.
- Tap your choice and preview it – then tap the checkmark to apply.
- Adjust the duration if needed.
CapCut transitions are known for being punchy and animated. They’re great for short-form content, but use them sparingly if you're going for a clean or cinematic feel.
How to add transitions in DaVinci Resolve
DaVinci Resolve gives you the power of a pro-level editor, including high-end transition tools. To add transitions:
- Go to the Edit tab.
- In the Effects Library, open Video Transitions.
- Drag a transition onto the cut between two clips.
- Adjust length and alignment directly on the timeline.
DaVinci Resolve includes some of the most well-used transitions, but you can also dive into Fusion Transitions if you want to take control and customize the effects.

Pro tips for using transitions in your edits
Now that you know how to add transitions, the next step is making them work for your content. The truth is, transitions are more than just a way to move from one clip to the next – they help set the tone, guide the viewer’s attention, and give your edit a sense of rhythm and flow.
Match the mood of your edit 🎯
Pick transitions that fit the vibe of your video. Use subtle fades for calm or emotional moments, and snappier effects like whip pans or zooms for fast-paced edits. These make your transitions feel intentional and part of the storytelling, not just filler between clips.
Pair transitions with sound effects to make them stand out 🎶
A simple whoosh or click can take your transitions from basic to pro in seconds. Sound effects help smooth the shift between clips, making your edits feel more polished and cohesive. It’s a subtle detail that’ll seriously improve the production value of your edits.
Find a consistent style that suits your content ⚖️
Don’t throw in every transition style you can find – pick one or two that suit your video and stick with them. Consistency helps your edit feel clean and professional, and it keeps the focus on your content, not the effects.
Resist the temptation to overuse transitions 🚫
Just because you can add a transition between every clip doesn’t mean you should. Overusing flashy effects is distracting and can cheapen your video. If the viewer notices the transition more than the footage, you’ve gone too far.

Elevate your edits with professional-looking transitions
Video transitions are one of the easiest ways to bring a sense of flow and polish to your videos. They’re a simple addition no matter if you’re working in Premiere Pro, iMovie, CapCut, or DaVinci Resolve. And the best bit is that they’re a hassle-free way to give your footage a professional sheen quickly.
Ready to make your videos even more watchable? When you know where to find the right transitions, your edits will instantly feel more refined. Explore Uppbeat’s library of transition animations and motion graphics to find effects that’ll elevate your edits in a matter of minutes.
Elevate your edits with guides on how to use motion graphics
Motion graphics are the extra stardust that makes your videos look professionally-made and keep people watching longer. Learn how to add them to your next project with our simple guides:
- How to Use Uppbeat's Motion Graphics Library
- How to Get Animated Backgrounds for Video
- The 9 Most Popular Animated Backgrounds for Your Videos
- How to Change Your Video Background (With or Without a Green Screen)
- What Are Video Overlays?
- The 11 Most Popular Video Overlays for Editing
- How to Add Overlays to Videos: A Simple Step-by-Step Guide
- What Is Color Grading In Video Editing?
- How to Color Grade Your Videos: A Step-by-Step Guide
- What is a LUT in Video Editing? (And How to Add Them to Your Edits)
- What is Rec709 and How Can You Apply It to Your Video Edits?
- 8 Simple Steps To Make Cinematic Video (Pro Tips For Any Budget)
- Video Transition Effects in Editing Explained (With Examples)
- How to Add Video Transitions (Step-by-Step Guides For Different Editors)
- The 12 Most Downloaded Video Transition Effects For Creators (And How To Use Them)


