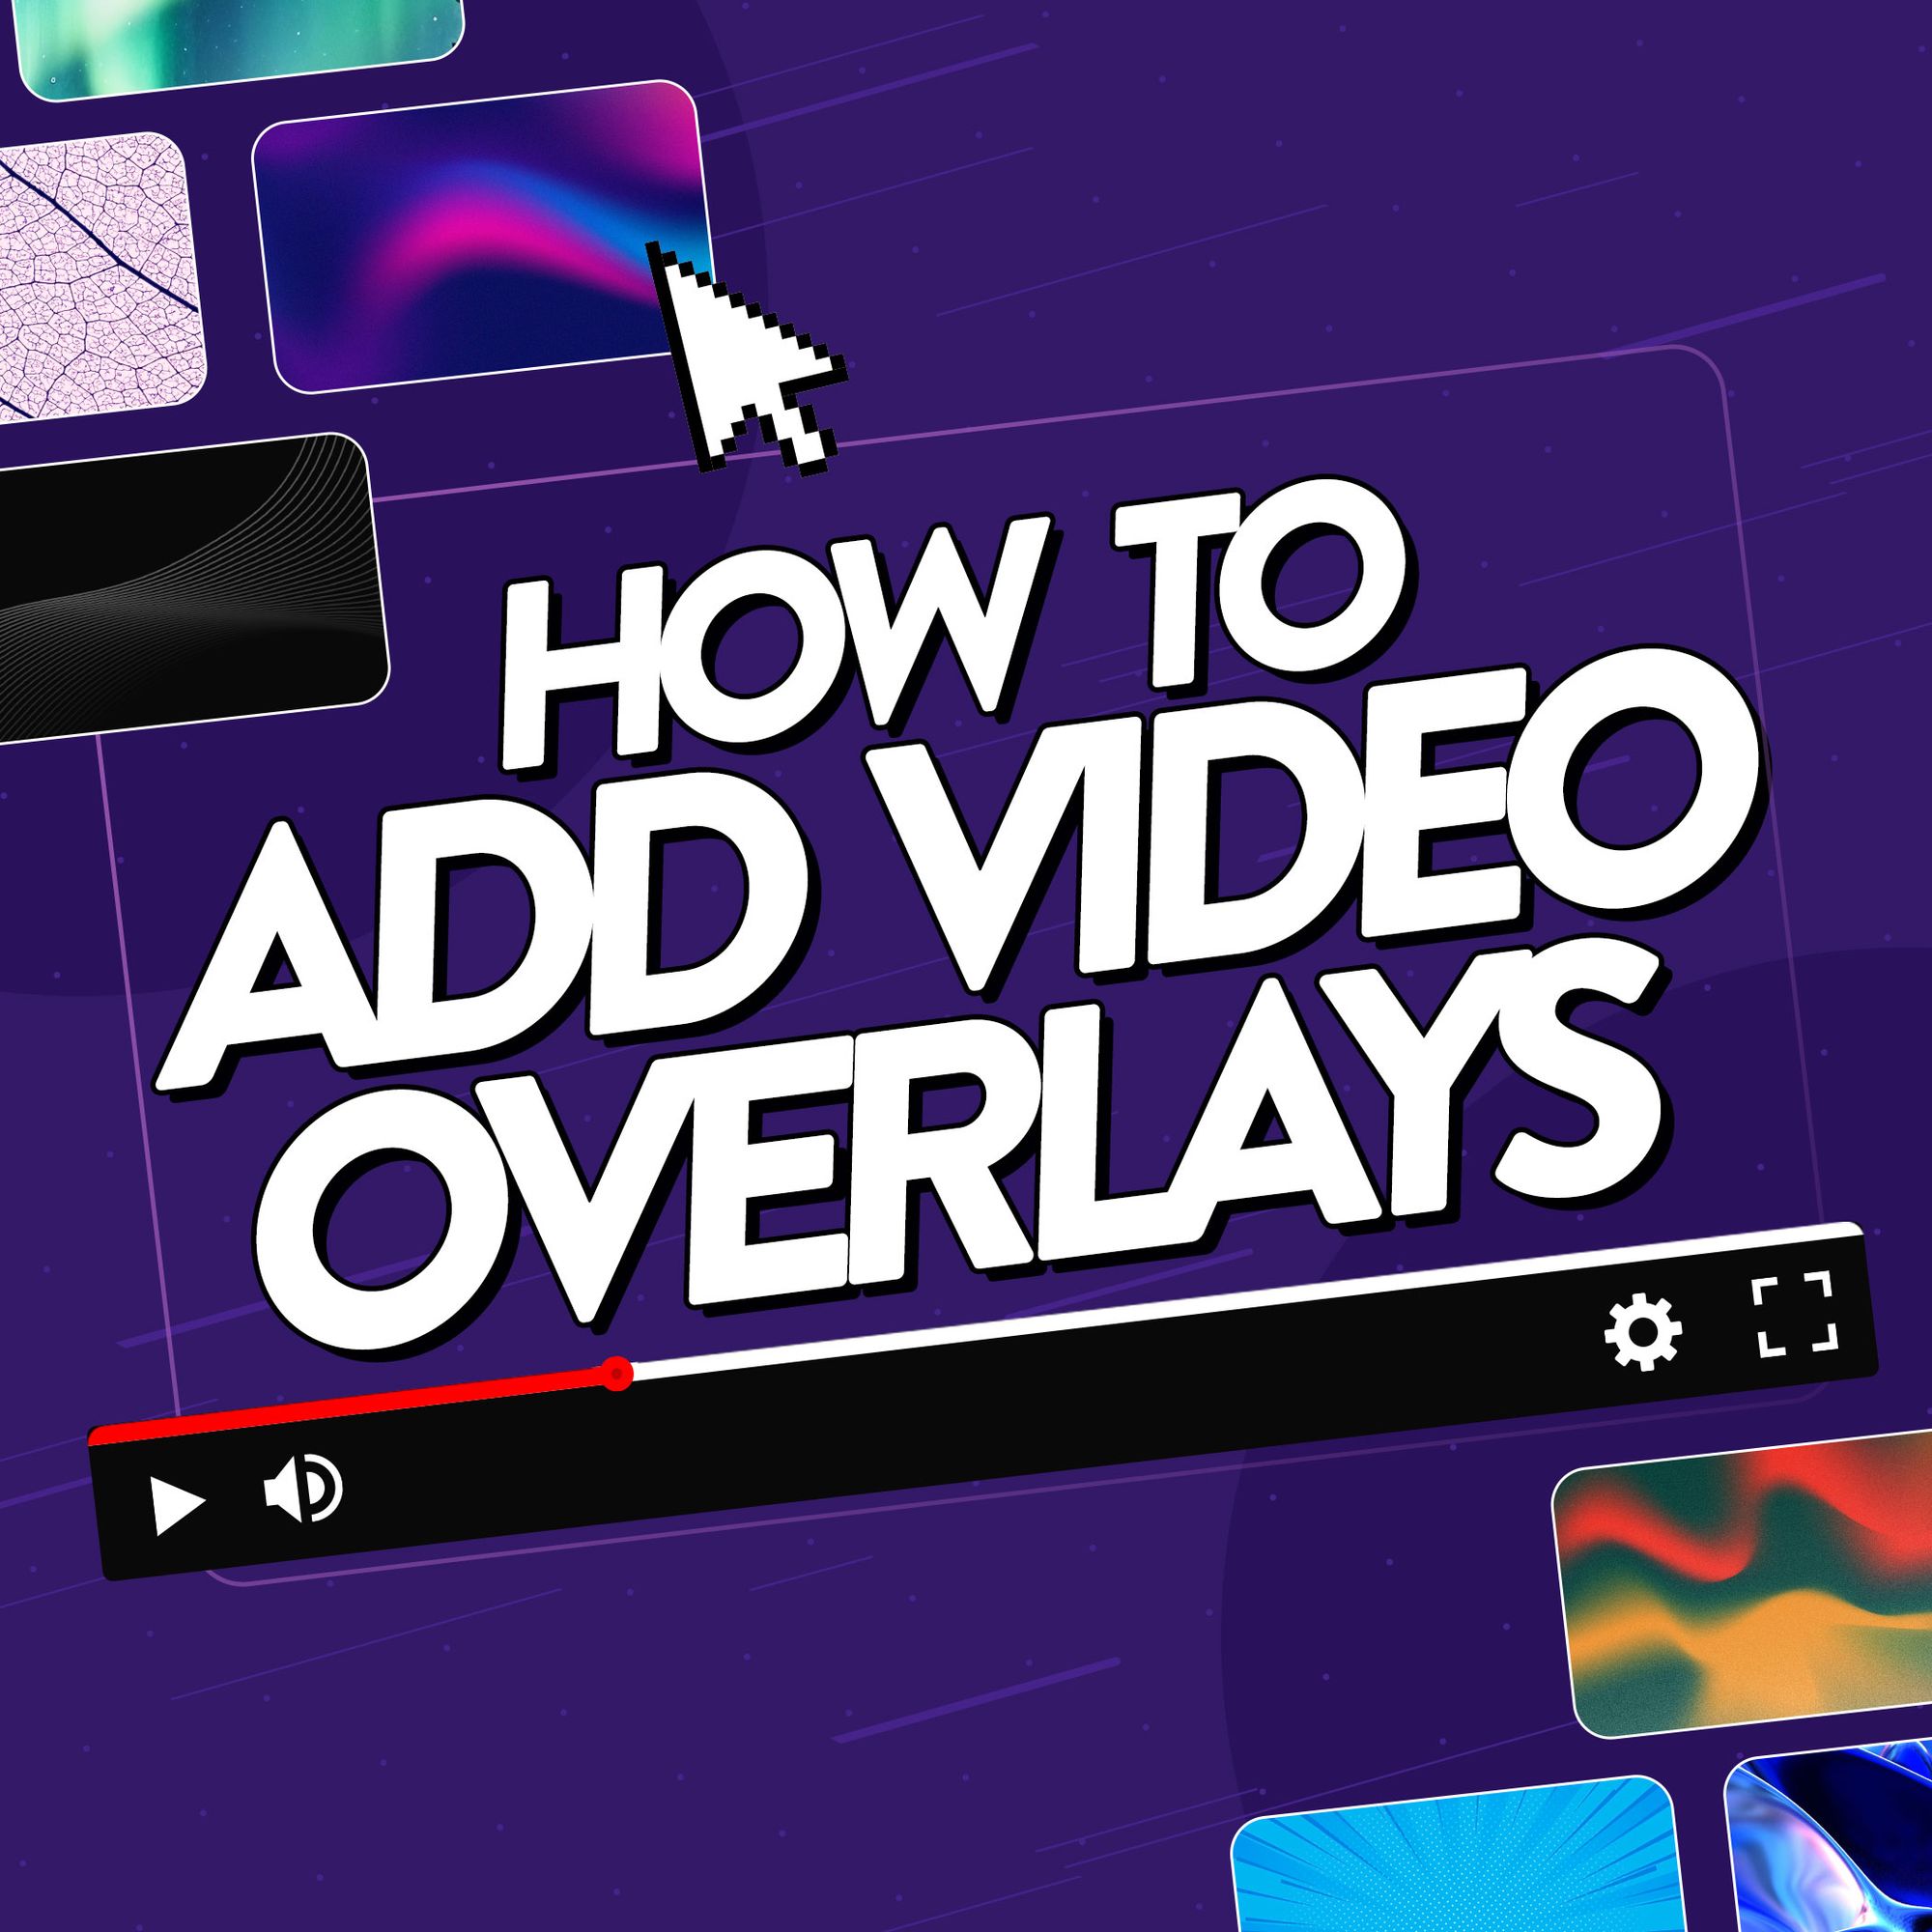
Video overlays are an easy way to transform ordinary footage into epic cinematography. These simple graphic elements will make your content more dynamic and engaging – whether you add confetti bursts to celebrate your latest subscriber count, or a simple branded logo. But to enjoy the full impact of overlays, you first need to know how to add them to your videos.
There are tons of ways to use overlays, from layering videos on top of each other, through to the addition of images or text. Whatever you want to achieve, this guide will show you how to add them to your edits. You'll find step-by-step tutorials for different editing software and tips on placing overlays for maximum effect. So if you’re ready to take your videos to the next level, let’s dive in!
- Where to find and download video overlays
- How to add video overlays: Step-by-step
- 5 essential tips for adding video overlays

Where to find and download video overlays
Before you start adding overlays to your video, you need to find the right ones. How you do this depends on your specific situation – how skilled you are at editing and the time you have to spare. Let’s have a look at the four main ways you can find overlays:
Use in-app libraries
If you’re a short-form whizz, social platforms like TikTok and Instagram have libraries of stickers, gifs and images free for you to use. These are simple to overlay onto your edits, but finding high-quality assets that are exactly what you want might be difficult.
Create your own overlays
For more control over the type of overlays you add to your videos, you could try your hand at crafting your own. This is a great option if you’re an expert editor – but if you’re not, it could be time-consuming and might not produce the desired effect you were hoping for!
Simply add text to your uploads
Want to drive home a key message or give your viewers a bit more context? Most editing software lets you create and drop basic text overlays onto your footage. It’s quick and easy to do, although you may find your options are limited if you’re looking for stylised or graphic text.
Download quality overlays for your edits
If you want the perfect overlay that’s high-quality, but easy to add to your footage, motion graphics libraries are the solution. Uppbeat has tons of overlays to choose from, all made by professional animators and curated especially for content creators. Simply download the one that’s right for your project and drop it onto your footage – it’s as easy as that!

A Step-by-step guide to adding overlays to your videos
Now it’s time to get creative with overlays. It sounds obvious, but how you add them to your videos will depend on the editing software you use. Thankfully, we’ve got you covered with a step-by-step guide for each major editing tool – whether you’re a diehard Premiere Pro fan, or love to keep it simple with in-app editing.
Select your preferred video editing software for step-by-step instructions:
How to add overlays in Premiere Pro
1. Download your overlay assets: You can explore video overlay assets for Premier Pro on Uppbeat.
2. Import your overlay: Under the File tab, click Import and select your overlay file.
3. Add to your timeline: Drag your overlay to a new layer above your main video.
4. Adjust your overlay: Click the overlay clip and go to the Effects Controls tab. Click Position and Scale to move and resize the overlay in the preview window.
5. Add effects: Within the Effects Controls panel you can click Opacity to increase the transparency of your overlay. Click Blending Modes for different creative effects, like adding contrast or shadows.
How to add overlays in CapCut
1. Download your overlay assets: You can explore video overlay assets for CapCut on Uppbeat.
2. Import your overlay: Tap Overlay in the bottom menu to select your overlay and import. Then tap Add Overlay to access your camera roll and select the image or video you want to use.
3. Adjust your overlay: Use the drag handles in the preview window to adjust the size and position of your overlay.
4. Add effects: Select your overlay clip and in the bottom menu select the Opacity slider to adjust transparency, or Blend for different creative effects, like contrast and shadows. You can also select Animation to choose how your overlay moves across the screen, with options like fade in or out.
How to add overlays in DaVinci Resolve
1. Download your overlay assets: You can explore video overlay assets for Davinci Resolve on Uppbeat.
2. Import your overlay: You can drag and drop your overlay into the Media Pool and add media to your timeline from here, or select File from the top menu and go to Import file.
3. Add to your timeline: Drag your overlay to the timeline above your main video.
4. Adjust your overlay: Click your overlay in the timeline, then open the Inspector panel and select Zoom and Position to move and resize the overlay.
5. Add effects: Under the Composition Mode panel you can click Opacity to increase the transparency of your overlay. Or select a Blending Mode for different creative effects, like adding contrast or shadows.
How to add overlays in iMovie
1. Download your overlay assets: You can explore video overlay assets for iMovie on Uppbeat.
2 . Import your overlay: Drag the image or video you want to overlay into your iMovie timeline above your main footage, or you can import media by clicking the Import button in the toolbar and following the steps.
3. Choose an overlay effect: Click on your overlay and in Video Overlay Settings select one of four options:- Picture-in-Picture (PIP): Places the overlay in a smaller window over the main video (great for reaction videos!).
- Cutaway: Displays the overlay full-screen for the duration of the clip, for example if you’re using a transition or transparent overlay.
- Split Screen: Places the overlay beside the main video.
- Green/Blue Screen: Removes the background if your overlay was filmed with a green screen.
4. Adjust your overlay: You can move and resize the overlay in the preview window, or adjust opacity in the overlay settings.
How to add overlays in Final Cut Pro
1. Download your overlay assets: You can explore video overlay assets for Final Cut Pro on Uppbeat.
2 . Import your overlay: Either drag the image or video you want to use directly into the timeline, or click File, then Import Media to select your chosen overlay.
3. Add to your timeline: Drag your overlay onto the timeline above your main video.
4. Adjust your overlay: Click your overlay in the timeline, then open the Transform Tool in the top menu to resize and move the overlay.
5. Add effects: Open Video Inspector in the top tight panel to adjust Opacity or use Blend Mode for different creative effects, like adding contrast or shadows.
How to add overlays in TikTok
1.Add your overlay: Once you have uploaded or recorded your video, tap on Stickers and then select Upload to add your own media from your camera roll.
2. Adjust your overlay: Resize and position your overlay using pinch-to-zoom gestures.
3. Set the duration for your overlay: Start recording from when you want your overlay to appear and pause when you want it to disappear. To remove the overlay, simply select the image or video and drag it to the Delete icon.
3. Add effects: You can add in-app overlays like text by clicking Text in the editing menu, or Stickers to choose Gifs, emojis and images from TikTok’s built-in library.

5 Top tips for adding video overlays to your edits
Video overlays have the power to make your edits more engaging. But they can also have the opposite effect if you don’t use them in the right way. Follow our five tips to make sure your overlays blend seamlessly with the rest of your content:
1. Keep it simple
Adding too many elements at once can distract viewers from your main content or prompt them to click away. Instead, use one or two subtle overlays per scene (for example, a logo or text label) and position them so that they don’t obstruct important parts of your video.
2. Use high-quality images and text
Nothing is more off-putting to a viewer than blurry visuals. Keep your uploads high-res by using PNG images instead of JPEGs, and exporting overlays at 1080p or 4K resolution. And it’s not just your images that need TLC. If you’re applying text, make sure it’s easy to read by using colors that contrast with your video background.
3. Match overlays to your channel aesthetic
Overlays are a great way to express individuality, but you want to keep them consistent with the rest of your aesthetic. Stick to one or two fonts, colors and overlay types across all your videos – like how MidnightMan uses bold text and video overlays to illustrate their how-to guides. Matching your overlays in this way helps your audience recognise your signature style as soon as they click on one of your videos. Basically it makes your content more you!
4. Avoid harsh and sudden overlays
It’s best to avoid abruptly placing overlays that don’t match your video. This can make your content seem less considered or polished – unless, of course, that’s the aesthetic you’re going for! Instead, make sure you choose your overlays carefully and make the most of tools like Opacity, or fade effects that blend naturally into your footage.
5. Optimize for different screen sizes
You might edit on desktop, but it’s not guaranteed that your audience will be watching from the same type of device. To avoid elements of your video being cut off when viewed on mobile or tablet, don’t place them too close to the edges of your video frame. And if you want to be really sure that everything looks just right, try watching your video on different devices before hitting publish.

Make your edits pop by adding video overlays
Now you know why creators love video overlays. They can take your videos to the next level, but it’s important to place them correctly for maximum impact. We’ve walked you through how to add overlays to your videos, no matter if you’re a pro editor or starting out in-app. So now you have the tools to start crafting perfect edits, all that’s left is to find the right overlay for your project.
Uppbeat has hundreds of quality overlays made by real animators. From the perfect ‘subscribe’ button, to light flares and logos, you’ll find everything you need – and even better, you can start downloading for free!
Elevate your edits with guides on how to use motion graphics
Motion graphics are the extra stardust that makes your videos look professionally-made and keep people watching longer. Learn how to add them to your next project with our simple guides:
- How to Use Uppbeat's Motion Graphics Library
- How to Get Animated Backgrounds for Video
- The 9 Most Popular Animated Backgrounds for Your Videos
- How to Change Your Video Background (With or Without a Green Screen)
- What Are Video Overlays?
- The 11 Most Popular Video Overlays for Editing
- How to Add Overlays to Videos: A Simple Step-by-Step Guide
- What Is Color Grading In Video Editing?
- How to Color Grade Your Videos: A Step-by-Step Guide
- What is a LUT in Video Editing? (And How to Add Them to Your Edits)
- What is Rec709 and How Can You Apply It to Your Video Edits?
- 8 Simple Steps To Make Cinematic Video (Pro Tips For Any Budget)
- Video Transition Effects in Editing Explained (With Examples)
- How to Add Video Transitions (Step-by-Step Guides For Different Editors)
- The 12 Most Downloaded Video Transition Effects For Creators (And How To Use Them)